
Lawn
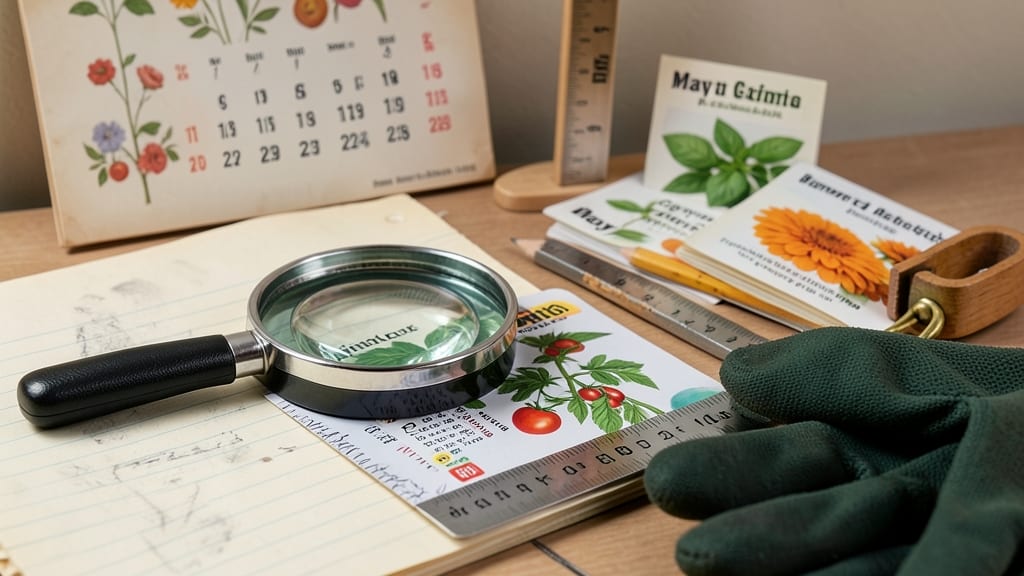
Seed packets hold the secret code to growing success—if you know how to read a seed packet. 🌱 I’ve cracked the language of those tiny labels to save you from guessing whether your basil will bolt in July or your marigolds stay stunted.
The numbers and terms might seem confusing at first, but once you decode them, you’ll plant with confidence every time.
Start with the planting zone—that’s the climate range where your plant thrives, like a GPS for your garden. Next, check days to maturity (how long until harvest) and light requirements (full sun, partial shade, or indoor-friendly).
Those tiny symbols for planting depth and spacing tell you exactly where to tuck your seeds so they don’t compete for space. I’ll show you how to spot the hidden clues that make all the difference.
You’ll learn which seeds need light to germinate (like lettuce) and which need darkness (like tomatoes), plus how to adjust for your local conditions. No more overcrowded seedlings or wilting disappointment—just foolproof results from the moment you plant. The packet’s instructions aren’t just suggestions; they’re your gardening roadmap.
Even experienced gardeners overlook key details, like soil temperature for cool-season crops or whether a seed needs scarification (scratching) to sprout. I’ll walk you through the most common mistakes and how to avoid them, so your first packet becomes your most successful one yet. Let’s get those seeds growing!
📚 In This Guide
- What you need
- Instructions
- Tips and common mistakes
- Wrapping up and next steps
What you need
- ● Seed packet – The star of the show! Ensure it’s unopened or clearly labeled with planting details.
- ● Magnifying glass or reading glasses – Tiny text? No problem! A 2x-3x magnifier helps spot details like planting zones or sunlight requirements.
- ● Notepad & pen – Jot down key info like: Planting depth (e.g., ¼ inch for tiny seeds)
- ● Spacing (e.g., 12 inches apart for tomatoes)
- ● Days to germination (e.g., 7–14 days)
- ● Ruler or measuring tape – For marking accurate spacing in your garden beds.
- ● Calendar or planting guide – Cross-reference the packet’s last frost date with your local climate zone (find yours blank">here).
- ● Garden journal – Track progress, note variations in germination times, or sketch your layout.
- ● Soil test kit – Some packets recommend pH levels (e.g., 6.0–7.0 for most veggies). Test your soil to match!
- ● Seedling heat mat – For slow-germinating seeds (e.g., peppers), keep soil 70–85°F for faster sprouts.
- ● Planting schedule app – Tools like blank">Gardenate sync seed packets with your zip code.
Step-by-step guide to decoding seed packet information
Here's how to turn that tiny packet into a planting roadmap—no gardening degree required.
🌱 Step 1: Identify the Plant Species and Variety
The first line usually names the plant and variety. This tells you exactly what you're growing—whether it's 'Sweet 100' cherry tomatoes or 'Giant of Italy' basil. I always cross-check this with my planting plans to avoid surprises. If you're new, this is your first clue about growth habits and care needs.
Look for words like "heirloom," "hybrid," or "organic" that indicate special traits. Heirloom seeds, for example, produce plants that come true from seed, while hybrids may offer disease resistance. This information helps you decide if the variety fits your garden goals and climate.
☀️ Step 2: Understand Planting Zones and Seasonal Timing
Most packets list a recommended planting zone range (like Zones 3-9) based on the USDA Plant Hardiness Zone Map. This tells you where the plant thrives outdoors. If you're in Zone 5, check if your zone falls within that range before planting outside.
Next, look for terms like "direct sow" (plant seeds directly in the garden) or "transplant" (start indoors first). You'll also see "days to maturity" (like 60 days), which counts from planting to harvest. This helps you plan when to start seeds indoors for a fall harvest or when to expect flowers.
📏 Step 3: Decode Spacing and Depth Requirements
Spacing instructions (like "12 inches apart") tell you how much room each plant needs to mature without crowding. This prevents competition for nutrients and air circulation, which reduces disease risk. I always sketch a quick planting diagram on graph paper to visualize the layout before digging.
Depth is often given as "plant ½ inch deep" or a similar measurement. Sowing too deep can delay germination, while planting too shallow may dry out seeds. Use the depth guideline as your starting point, then adjust slightly based on seed size—small seeds need less coverage than large ones.
💧 Step 4: Interpret Light, Water, and Soil Needs
Look for phrases like "full sun" (6+ hours daily), "partial shade" (3-6 hours), or "low light." This determines where you'll place the plant in your garden or how much artificial light seedlings need. Mismatched light conditions lead to leggy, weak plants that never reach their potential.
Water requirements might say "keep soil moist" or "water deeply weekly." Pay attention to drought tolerance if you're in a low-rainfall area. Some packets include soil preferences like "well-draining" or "rich organic matter," which helps you prep the planting site correctly.
⏰ Step 5: Plan for Bloom Time and Harvest Window
"Days to bloom" or "days to harvest" are your harvest timeline. Count backward from your first frost date to determine when to start seeds indoors or direct sow. For example, if your frost date is October 15 and the packet says 70 days to harvest, you'll need to plant by July 15.
Some packets include notes about succession planting (like "sow every 2 weeks for continuous harvest"). This is your cue to plan multiple plantings for crops like lettuce or beans. I mark these dates on a calendar to stay organized—skipping succession planting means gaps in your harvest.
Tips & tricks for decoding seed packets like a pro
Common pitfalls—and how to sidestep every one when reading seed packets.
Plant Variety Deep Dive: Beyond the basic name, look for descriptors like "disease-resistant" or "heat-tolerant" that can make or break your gardening success. For example, if you're in Zone 9, a variety labeled "heat-tolerant" will thrive where a standard variety might bolt. I once planted regular tomatoes in my hot climate, only to watch them flower and fruit poorly—until I switched to heat-tolerant varieties. The difference is night and day for summer harvests.
Zone Mapping Matters: Don't just glance at the zone range—check your specific USDA zone against the packet's recommendation. For instance, a packet saying "Zones 4-8" might not be ideal if you're in Zone 9, where the plant could struggle with heat. I always verify my zone using the USDA map and cross-reference it with the packet's suggestions. This simple step prevents wasted seeds and disappointed gardeners.
Succession Planting Strategy: When you see "sow every 2 weeks for continuous harvest," take it seriously. This isn't just a suggestion—it's your key to a never-ending supply of fresh produce. I mark these dates on my calendar and set reminders because missing a succession planting window means a harvest gap. For example, with lettuce, this technique gives me fresh greens from spring through fall without replanting all at once.
Light Requirements Are Non-Negotiable: The "full sun" vs. "partial shade" distinction isn't just semantics—it determines where your plant will thrive or fail. I've seen gardeners place shade-loving plants in full sun only to watch them struggle. Pay attention to the exact hours mentioned (like the 3-6 hours for partial shade) and match it to your garden's microclimates. A north-facing spot might get only 3 hours of sun, while a south-facing area could get 8.
Pro Tips for Read A Seed Packet
- Common pitfalls—and how to sidestep every one when reading seed packets.
- Plant Variety Deep Dive: Beyond the basic name, look for descriptors like "disease-resistant" or "heat-tolerant" that...
- Zone Mapping Matters: Don't just glance at the zone range—check your specific USDA zone against the packet's recommen...
Frequently asked questions
What does “days to maturity” mean, and how do I use it?
The “days to maturity” tells you how long it takes from planting to harvest (or bloom). For example, if a packet says 60 days, count backward from your first frost date to determine the latest planting time. Pro tip: Adjust for your climate—cooler areas may need earlier starts!
Why do seed packets list planting zones, and how do I find mine?
Planting zones (like Zone 5-9) indicate where a plant thrives based on winter hardiness. Find yours via the USDA Plant Hardiness Zone Map. If your zone isn’t listed, check the minimum temperature range—most seeds survive if temps stay above that threshold.
Can I plant seeds outside their recommended season?
Sometimes! Check the packet for sowing depth and light needs. For example, cool-season crops (like lettuce) can handle light frosts, while warm-season (tomatoes) need soil above 60°F. Risky move: If unsure, start indoors or use row covers for protection.
What if my seeds don’t germinate? How do I troubleshoot?
Common culprits: old seeds (test viability), wrong soil moisture (keep damp but not soggy), or incorrect depth (follow packet guidelines). Try scarifying (nicking seed coats) for tough shells or soak in warm water for 24 hours. Still no luck? Contact the seed company—they often offer replacements!
Can I save seeds from store-bought veggies for next year?
Maybe! Heirloom or open-pollinated varieties (like tomatoes or beans) are safe to save. Hybrid seeds (common in grocery-store plants) may not produce true-to-type offspring. Key steps: Let seeds dry fully, store in a cool, dark place, and label them. Avoid saving from treated or F1 hybrids.
Wrapping up and next steps
Mastering how to read a seed packet unlocks the secret to growing thriving plants with confidence! 🌱 Whether you’re a beginner or a seasoned gardener, understanding planting zones, days to maturity, and care tips ensures your green thumb shines brighter.
Now that you’re equipped with the know-how, grab those seeds and start planting! Your next step? Pick your favorite varieties, mark your calendar, and watch your garden transform.
Pro tip: Keep a gardening journal to track what works best in your space—happy growing! ✨