
Lawn
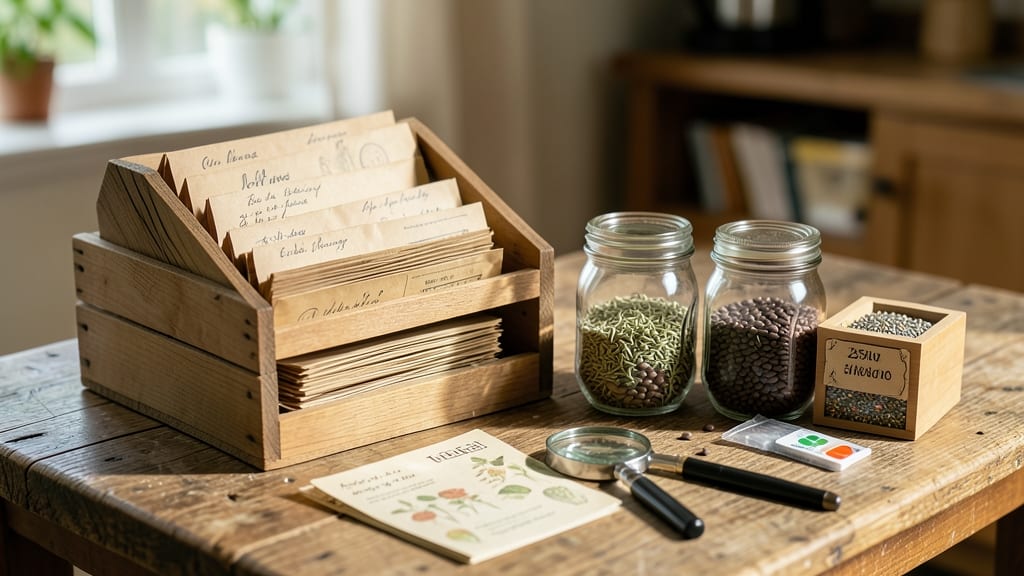
Proper seed pack storage means the difference between next year’s garden dreams and wasted money. ✨ I’ve lost count of how many seed packets I’ve tossed because they sprouted in the pantry or turned to dust from sitting too long.
The right conditions—cool, dark, and dry—keep seeds viable for years, but one wrong move can ruin everything.
You’ll need airtight containers, silica gel packets, and a spot where temperatures stay between 32-41°F (like a fridge or basement). Labeling each packet with the variety and year saves headaches later.
Most seeds last 3-5 years, but some (like onions or leeks) only keep for 1-2 years—so don’t assume they’re all good until you test them.
By the end of this, you’ll have a system so foolproof that even forgotten seeds will still sprout when you’re ready. The payoff? A pantry full of potential, ready to grow into your next harvest without a single wasted packet.
Whether you’re prepping for next spring or saving heirlooms for decades, these steps turn seed storage from a guess into a science. Let’s get those packets preserved right.
📚 In This Guide
- What you need
- Instructions
- Tips and common mistakes
- Wrapping up and next steps
What you need
- ● Air-tight storage containers: 2–5 containers (depending on seed volume) – Mylar bags with zip locks (5–10 mil thickness) or glass jars with rubber seals (quart or gallon size).
- ● Desiccant packets: 1–3 packets (silica gel or rice-based) per container to absorb moisture.
- ● Seed packs or envelopes: Original packaging (if resealable) or kraft paper envelopes (acid-free, 8"x10" size).
- ● Permanent markers: 1–2 (for labeling seed types, dates, and varieties).
- ● Freezer or cool, dark space: Ideal storage temp: 32–40°F (0–4°C) (refrigerator or basement works too!).
- ● Vacuum sealer: Extends shelf life by removing all air (great for bulk seeds).
- ● Humidity indicator cards: Monitors moisture levels inside containers.
- ● Small fan: Circulates air if storing in a damp basement (place near—but not in—containers).
- ● Label templates: Pre-made seed-tracking sheets for organization.
How to store seed packs for maximum longevity
Here's the foolproof method I use to keep my seed collection fresh for years—no fancy equipment needed.
🪴 Step 1: Empty Packs and Dry Seeds Thoroughly
Remove seeds from their original packaging immediately after purchase. The paper and plastic trap moisture, which is enemy number one for seed viability. Spread seeds in a single layer on a clean, dry surface like a paper towel or mesh screen. Let them air-dry for 24-48 hours in a warm, dry spot away from direct sunlight.
You'll know they're dry enough when the outer seed coats feel slightly crisp to the touch. If you're in a humid climate, run a small fan on low circulation for an extra hour to speed up the process. Never use heat sources—just warm room air. This initial drying prevents mold and ensures even moisture levels once stored.
💧 Step 2: Choose the Right Storage Containers
Transfer dried seeds into airtight containers made of glass, plastic, or food-grade metal. Mason jars with rubber gaskets work perfectly, or use small plastic containers with tight-sealing lids. The key is eliminating all air exchange—even a tiny gap lets humidity sneak in.
I like to add a small packet of silica gel or a silica gel desiccant in each container. These little moisture absorbers keep relative humidity below 10%, which is ideal for seed storage. Label each container with the seed variety and date—my handwriting fades after a few years, and I've learned that lesson the hard way!
☀️ Step 3: Store in a Cool, Dark, Stable Environment
Place your sealed containers in the coolest, darkest spot you have available. A refrigerator's crisper drawer works well, as long as it's not near the freezer section where temperatures fluctuate. Ideal storage temperatures range between 32-41°F, which dramatically slows seed aging.
Never store seeds in the freezer—temperature swings during defrost cycles damage seed membranes. You'll notice condensation forming on containers if they're too warm, which means moisture is already migrating into your seeds. Check containers every 3-6 months to ensure seals remain tight and desiccant packets still feel dry to the touch.
⏰ Step 4: Monitor and Refresh Storage Conditions
Every 6-12 months, remove containers and inspect seeds for any signs of moisture or pest activity. Even the best storage systems can develop small leaks over time. If you notice condensation inside the container or seeds feel damp, dry them again immediately and transfer to fresh containers with new desiccant.
This is where most people go wrong—they assume sealed containers are "set it and forget it." But seeds are living organisms that slowly respire, releasing moisture. That's why I always keep a small notebook tracking each seed type's storage date and condition. When you open a container and seeds smell fresh and crisp, you know you've done it right.
Tips & tricks for perfect seed pack storage
Took me years of trial and error to perfect this system—here's what actually works for keeping seeds viable for years.
Drying is Everything: The 24-48 hour drying period in Step 1 might seem long, but it's non-negotiable. I've seen seeds develop mold after just 48 hours in humid climates when this step was skipped. For extra insurance, place a small dish of rice near your drying surface—it absorbs moisture without needing electricity. The goal is to get seeds to that perfect crisp texture where they feel dry to the touch but don't crumble.
Container Selection Matters: While any airtight container works, I've found that glass mason jars with rubber gaskets create the best seal over time. The key is testing your containers first—place a damp paper towel inside, seal it, and check for condensation after 24 hours. If you see any moisture, that container isn't airtight enough. For large collections, consider vacuum-sealed bags with oxygen absorbers as an alternative.
Temperature Control: The 32-41°F range mentioned in Step 3 is crucial because seeds age about 10 times faster for every 18°F increase in temperature. I keep mine in my refrigerator's crisper drawer but never near the freezer section—those temperature swings are deadly. Pro tip: Use a small thermometer in your storage area to monitor conditions. If it ever rises above 41°F, your seeds will lose viability faster than expected.
Monitoring System: That 6-12 month inspection schedule in Step 4 is where most people fail. I've seen containers that looked perfectly sealed develop tiny cracks over time. Set a calendar reminder—when you rotate your seeds, check for any condensation on the container walls or musty smells. If you notice either, your seeds need immediate drying and repackaging with fresh desiccant.
Pro Tips for Seed Pack Storage
- Took me years of trial and error to perfect this system—here's what actually works for keeping seeds viable for years.
- Drying is Everything: The 24-48 hour drying period in Step 1 might seem long, but it's non-negotiable. I've seen seed...
- Container Selection Matters: While any airtight container works, I've found that glass mason jars with rubber gaskets...
Frequently asked questions
Got questions about keeping your seed packs fresh and ready for planting? Here are some of the most common concerns—and their solutions!
How long can seed packs last if stored properly?
With zero humidity and cool temperatures (35–40°F), most seed packs stay viable for 1–5 years, depending on the type. Grass seeds often last 2–3 years, while flower or vegetable seeds may hold viability longer. Always check the pack for expiration dates—when in doubt, test a few seeds in damp paper towels!
What’s the best way to remove moisture from seed packs before storage?
Seal seed packs in airtight, food-grade containers with silica gel packets or rice (a natural desiccant). For extra protection, place a small dehumidifier (like DampRid) in the storage area. Avoid plastic bags alone—they trap moisture and shorten shelf life.
Can I store seed packs in the freezer for longer shelf life?
Yes! Freezing (0°F or below) slows moisture loss and preserves viability for years. Use vacuum-sealed bags or Mylar bags with oxygen absorbers to prevent freezer burn. Label packs clearly—thaw seeds overnight in the fridge before planting to avoid temperature shock.
What are good alternatives to silica gel for seed storage?
If you’re low on silica gel, try these DIY desiccants:
- Uncooked rice (place 1 cup in a cloth bag inside the container)
- Cat litter (bentonite clay) (absorbs moisture well)
- Dried beans or corn (less effective but works in a pinch)
For long-term storage, commercial desiccant crystals still win for consistency.
My seeds sprouted in storage—what went wrong?
Sprouting usually means too much moisture or warmth. Check for:
- Condensation inside containers (indicates humidity buildup)
- Storage near heat sources (like ovens or windows)
- Damaged or improperly sealed packs
Solution: Dry seeds thoroughly, reseal in a new airtight container with fresh desiccant, and store in a cool, dark place (like a basement).
Wrapping up and next steps
Proper seed pack storage is your secret weapon for keeping your lawn dreams alive—no humidity, no guesswork, just long-lasting viability! By investing in the right materials and techniques, you’re setting yourself up for success, whether you’re a seasoned gardener or just starting out. 🌱
Ready to take the next step? Test your stored seeds in a small patch of your lawn this season—you’ll see the difference in just a few weeks. Happy growing!