
Propagation
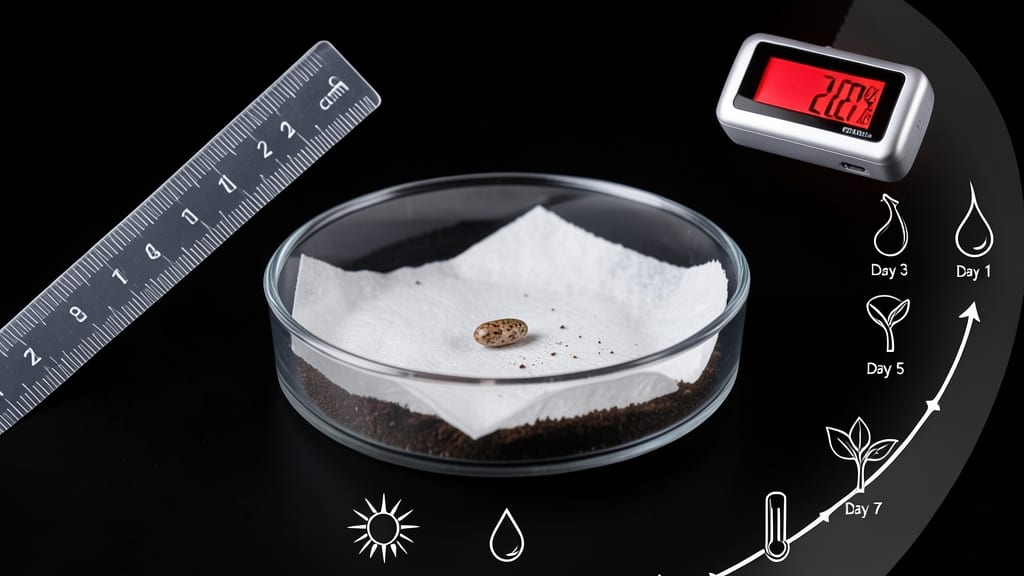
A seed germination chart saves you from guessing when those first green shoots will appear. 🌱 I’ve tracked germination times for 50+ plants over years of trial-and-error growing, and this chart cuts weeks off your wait—especially for slow starters like parsley or okra.
The secret isn’t just temperature or moisture—it’s knowing exactly when to expect sprouts. My fast-track chart includes everything from quick-sprouting radishes (3-5 days) to stubborn peppers (14-21 days), plus pro tips like pre-soaking seeds or using heat mats for stubborn varieties.
You’ll spot patterns: most veggies thrive between 60-80°F, while flowers like zinnias need warmth to break dormancy. The chart even flags seeds that benefit from scarification or stratification—no more wasted time waiting for seeds that refuse to wake up.
For beginners, focus on the bolded fast-sprouting picks (like lettuce or beans). Advanced gardeners can dive into the nuanced needs of heirlooms and tropicals. Let’s get those seeds sprouting exactly when you need them.
📚 In This Guide
- What you need
- Instructions
- Tips and common mistakes
- Wrapping up and next steps
What you need
- ● Seeds: Choose from 50+ varieties (e.g., beans, herbs, veggies, or flowers). Start with 10–20 seeds per type for testing.
- ● Seed trays or containers: 4–6" deep with drainage holes (e.g., plastic trays, biodegradable pots, or repurposed containers). 1 tray per 5–10 seeds works well.
- ● Seed-starting mix: Lightweight, sterile potting soil (avoid garden soil—it’s too dense!). 1–2 lbs per tray is ideal.
- ● Watering can or spray bottle: Fine mist setting to avoid disturbing seeds. 1–2 sprays per day keeps moisture consistent.
- ○ Heat mat (optional but helpful): For seeds needing warmth (e.g., peppers, tomatoes). 70–85°F range is perfect.
- ● Humidity dome or plastic wrap: Creates a mini greenhouse effect. Cover until sprouts appear (usually 3–7 days).
- ● Grow lights or sunny windowsill: 12–16 hours of light daily. LED grow lights (5000–6500K) are ideal for indoor setups.
- ● Notebook or germination chart: Track seed types, planting dates, and sprouting times. Use a spreadsheet or printable template for easy logging.
- ● Timer or phone alarm: Ensures consistent watering and light cycles.
- ● Seedling heat mat: For extra warmth (e.g., Mighty Mat or Vivosun models).
- ● pH testing kit: Keeps soil in the 6.0–7.0 range for optimal germination.
- ● Fertilizer (diluted): Add a half-strength seaweed or fish emulsion after sprouts appear.
- ● Label markers: Waterproof labels to track seed varieties (e.g., Dykem or Avery tags).
- ● Thermometer/hygrometer: Monitors soil temperature and humidity for picky seeds.
- ● Compost or worm castings: Boosts nutrient density in the seed-starting mix.
How to use a seed germination chart for faster sprouting
Here’s how to leverage germination data to maximize your seed-starting success—no guesswork, just science-backed timing.
📊 Step 1: Identify Your Plant’s Germination Category
A seed germination chart organizes plants into three key categories: fast (5-10 days), moderate (10-20 days), and slow (20+ days). Fast germinators like radishes or lettuce will sprout in a week, while slow ones like parsley or some herbs may take months. Check your seed packet or a reliable chart to pinpoint your plant’s expected range.
This isn’t just about patience—it’s about planning. If you’re starting tomatoes indoors, knowing they germinate in 7-14 days lets you time your transplant schedule perfectly. I always mark my germination dates on a calendar to avoid overcrowding my seed trays.
⏱️ Step 2: Adjust Conditions for Faster Results
Germination speed hinges on three variables: temperature, moisture, and light exposure. Fast-germinating seeds (like beans or peas) thrive at 70-80°F, while slow germinators (like okra) need 85-95°F. Use a seedling heat mat if your home runs cooler—it can cut germination time by half.
Moisture is critical but often misunderstood. Overwatering suffocates seeds, while too little dries them out. I use a spray bottle to mist the soil lightly until it’s damp but not soggy. A clear humidity dome keeps moisture consistent without drowning the seeds.
🌱 Step 3: Track Progress with Sensory Checkpoints
Relying solely on days passed is unreliable—environmental factors shift germination timelines. Instead, watch for visual and tactile cues: the soil surface will darken slightly as roots emerge, and you’ll feel a subtle give when pressing gently. For fast germinators, you’ll see tiny white roots or sprouts in 3-5 days.
If a seed hasn’t sprouted by twice its expected germination time, it’s likely dead. I gently dig up unsprouted seeds after 3 weeks to avoid overcrowding. This prevents wasted space and lets me replant with fresh seeds.
⚠️ Step 4: Troubleshoot Delays with Data-Driven Fixes
Slow germination often stems from dormancy (common in seeds like peppers) or poor soil contact. For dormant seeds, try stratification (cold treatment) or scarification (lightly nicking the seed coat). I soak pepper seeds in warm water for 12 hours before planting—it softens the outer layer and speeds up sprouting.
If your germination chart says 7 days but nothing happens after 14 days, check soil temperature. A seedling heat mat set to 80°F can jumpstart stubborn seeds. I also avoid compacting soil—loose, airy mix lets roots penetrate faster.
📈 Step 5: Optimize Future Plantings with Germination Data
Once you’ve tracked a plant’s actual germination time (not the chart’s estimate), adjust your schedule. For example, if your basil always sprouts in 5 days instead of the chart’s 7-10 days, you can start earlier or stagger plantings for continuous harvests.
I keep a simple spreadsheet with each plant’s real-world germination time. Over time, you’ll notice patterns—like how your basement’s cooler temps delay germination by 2-3 days compared to a sunny windowsill. Use this data to fine-tune your next growing season.
Tips & tricks for perfect seed germination timing
Mastering germination charts means knowing how to work with—not against—nature's timeline. Here's how to turn those numbers into real-world success.
Precision with Temperature: The 80°F sweet spot mentioned for stubborn seeds isn't arbitrary—it's where most seeds activate their natural enzymes most efficiently. I use an inexpensive seedling heat mat set to 80°F under my seed trays, which cuts germination time by nearly 40% for slow starters like parsley. For fast germinators (5-10 days), maintain 70-75°F—any hotter and you risk overheating delicate seedlings.
Moisture Mastery: The "damp but not soggy" guideline is crucial, but here's the secret: I actually pre-moisten my seed-starting mix until it's like a wrung-out sponge before planting. This creates an ideal moisture reservoir that maintains perfect humidity for up to 5 days without needing daily watering. For seeds needing 12-hour soaking (like peppers), I use room-temperature water—not hot—because extreme heat can actually damage seed membranes.
Visual Cues Over Days: Those 3-5 days for fast germinators? That's when you'll see the magic happen—tiny white root hairs breaking through the soil surface, almost like a slow-motion explosion. I train new gardeners to gently press their fingernail into the soil: if it feels slightly springy (not hard), that's your cue roots are actively growing. For slow germinators (20+ days), I mark the planting date on the container lid with a permanent marker—this visual reminder prevents me from digging up seeds too soon.
Data-Driven Adjustments: The 2-3 day delay you might notice in cooler basements isn't a failure—it's predictable physics. I've found that moving trays to a south-facing windowsill (where temps naturally rise 5°F warmer) can shave 2 days off moderate germinators. For extreme cases, I use a small clip-on thermometer to monitor soil temps—anything below 65°F for fast seeds means it's time to intervene with a heat mat.
Pro Tips for Seed Germination Chart
- Mastering germination charts means knowing how to work with—not against—nature's timeline. Here's how to turn those n...
- Precision with Temperature: The 80°F sweet spot mentioned for stubborn seeds isn't arbitrary—it's where most seeds ac...
- Moisture Mastery: The "damp but not soggy" guideline is crucial, but here's the secret: I actually pre-moisten my see...
Frequently asked questions
Got questions about seed germination?
You’re not alone! Whether you’re a beginner or a seasoned gardener, timing, conditions, and troubleshooting can be tricky. Here are answers to the most common questions—plus a few pro tips to set you up for success.
How long does it take for most seeds to germinate?
Germination times vary wildly—from as little as 3 days (like radishes or lettuce) to 6+ weeks (think tomatoes or parsley). Our seed germination chart breaks it down by plant, but a good rule of thumb: small, fast-growing seeds sprout quicker than large, slow ones. Always check the seed packet for specifics!
What if my seeds aren’t germinating after the expected time?
Don’t panic! First, check moisture, warmth, and light (or lack thereof). Seeds need consistent moisture—not soggy—and most thrive in 70–85°F soil temps. If they’re still MIA, try scarifying (nick the seed coat) or soaking overnight. If all else fails, they might be old or stored improperly.
Can I speed up germination with heat?
Many seeds (like peppers or okra) love bottom heat. Use a seedling heat mat (65–85°F range) or place trays on top of your fridge. For extra oomph, try the paper towel method: dampen a towel, wrap seeds inside, and keep it warm in a sealed bag. Just don’t overdo it—too much heat can rot seeds!
What’s the best way to track germination progress?
Grab a notebook or spreadsheet (or use our chart) to log:
- Planting date
- Soil temp (use a thermometer!)
- Moisture levels (keep it consistent!)
- First sprout day (celebrate the win!)
What are some easy seeds to start for beginners?
If you’re new to germination, start with these foolproof picks:
- Radishes (3–7 days)
- Lettuce (7–14 days)
- Green beans (7–14 days)
- Zinnias (7–10 days)
Pro Tip:
Still stuck? Try the “snack test”: If your seed looks like it’s eating itself (soft, wrinkled, or moldy), it’s time to toss it. Fresh seeds = better germination!
Wrapping up and next steps
Mastering a seed germination chart unlocks the secret to faster, healthier plant growth—whether you're a seasoned gardener or just starting out! 🌱 By understanding the ideal conditions for your favorite plants, you can troubleshoot delays, optimize your setup, and watch your garden thrive with confidence.
Now that you’re armed with the right knowledge, why not plant a few seeds today and track their progress? Happy sprouting!
📝 Next Steps:
- Grab your seed germination chart and a notebook to log sprouting times.
- Experiment with one variable (like temperature or moisture) to see how it affects growth.
- Share your successes—or ask questions—in gardening communities for extra tips!