
Lawn
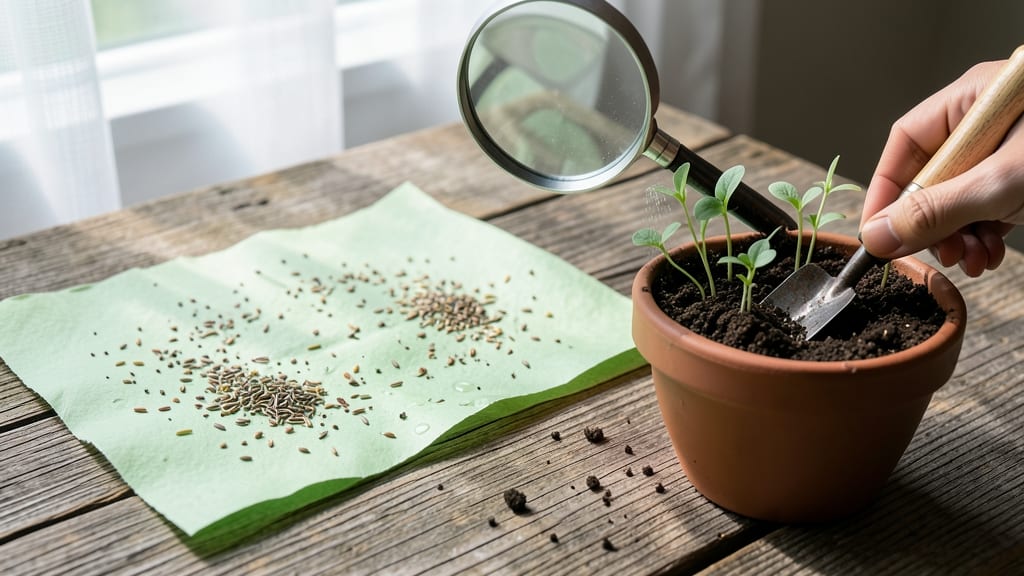
Seed paper planting instructions turn your garden into a living canvas—no soil mess, no waste, just instant blooms. 🌱 I’ve grown everything from wildflowers to herbs using this method, and the results are shockingly lush for something so simple. The key is treating it like delicate paper that happens to hold seeds, not like traditional planting.
You’ll need just three things: your seed paper, a dampened area (no heavy soil needed), and patience for the magic to unfold. Press it gently into moist earth or even a shallow tray, then keep it consistently damp until sprouts appear—usually within 7-14 days.
The best spots get morning sun but afternoon shade to prevent drying.
Once sprouted, your plants will need regular watering—think of it like keeping a houseplant happy. Within weeks, you’ll watch delicate stems unfurl into vibrant blooms or fragrant foliage, all while reducing waste. The real reward? A garden that grows from something as simple as paper.
Works for wildflower meadows, herb gardens, or even small pots—no digging required. Here’s how to keep them thriving without the guesswork.
📚 In This Guide
- What you need
- Instructions
- Tips and common mistakes
- Wrapping up and next steps
What you need
- ● Seed paper – 1-2 sheets (pre-made or DIY; ensure it’s embedded with wildflower, herb, or vegetable seeds).
- ● Water – Room-temperature (avoid cold water to prevent shock).
- ● Spray bottle or small watering can – For gentle, even moisture distribution.
- ● Shallow tray or container – 6-8 inches deep (with drainage holes or a layer of paper towels underneath to absorb excess water).
- ● Potting soil or seed-starting mix – Lightweight and well-draining (avoid garden soil—it’s too dense!).
- ○ Plastic wrap or clear lid – To create a mini greenhouse effect (optional but highly recommended for humidity).
- ● Scissors or craft knife – To cut seed paper into smaller sections (if desired).
- ● Tweezers or fingers – For gently pressing paper into soil (no pressure needed!).
- ● Sunny windowsill or grow light – 6-8 hours of indirect light daily (avoid direct sun until sprouts appear).
- ○ Plant markers (optional) – To label your seed paper varieties (use sticks or biodegradable labels!).
- ○ Fertilizer (optional) – Balanced, water-soluble fertilizer (diluted to half-strength once seedlings have 2-3 true leaves).
- ● Patience – Germination time varies (5-21 days, depending on seed type).
- ● Consistency – Keep soil moist but not soggy (overwatering is the #1 killer of seed paper!).
- ● Space – Ensure your tray fits in a well-lit area (or near a grow light).
- ● Zero-waste mindset – Embrace the journey of turning paper into plants! 🌎
Step-by-Step instructions for making seed paper
Here's how to create beautiful, biodegradable seed paper that blooms into wildflowers.
🌱 Step 1: Prepare Your Materials
Start by gathering 2 cups of recycled paper (newspaper, printer paper, or egg cartons work best) and soak it in 4 cups of warm water for at least 1 hour. This softens the fibers so they blend smoothly. I like to use a blender for this step—it breaks down the paper into a pulp consistency. If you don’t have a blender, a food processor or even a potato masher works in a pinch.
While the paper soaks, mix 1 tablespoon of wildflower seeds with 1 tablespoon of psyllium husk powder in a small bowl. The psyllium acts as a natural binder, helping the paper hold together once dry. You’ll notice the mixture thickens slightly—this is what gives seed paper its strength. If you’re making multiple sheets, double the quantities proportionally.
💧 Step 2: Blend and Mix the Pulp
Drain the soaked paper into your blender and add ½ cup of water to help it process smoothly. Blend in short bursts until you achieve a thick, paste-like consistency—it should coat the back of a spoon without sliding off. If it’s too watery, blend in more paper; if it’s too stiff, add a splash of water. The goal is a smooth, moldable pulp that’s easy to spread.
Transfer the pulp to a large mixing bowl and stir in the seed-psyllium mixture. You’ll see the seeds distribute evenly throughout. Here’s the thing—don’t overmix. Just stir until the seeds are fully incorporated. Overworking the pulp can weaken the paper’s structure, making it brittle once dry.
☀️ Step 3: Spread and Shape the Paper
Line a baking sheet with parchment paper or a silicone mat to prevent sticking. Use a spoon or your hands to spread the pulp evenly into a thin, uniform layer—about ⅛ inch thick. Press gently to remove air bubbles and ensure even thickness. If you’re making decorative shapes, use cookie cutters or a knife to trim edges while the pulp is still wet.
Let the sheets dry completely, which takes about 24-48 hours depending on humidity. I place mine in a warm, dry spot away from direct sunlight to avoid cracking. You’ll know it’s ready when the paper feels stiff and no longer sticks to your fingers. Once dry, the seed paper is ready to plant or gift—no extra steps needed!
🌿 Step 4: Plant and Care for Your Blooms
To plant, simply place the seed paper directly on prepared soil in a garden bed, pot, or even a hanging planter. Press it gently into the soil to ensure good contact. Water lightly to settle the paper and keep the soil moist for the first 2 weeks—this is critical for germination. You’ll see tiny sprouts emerge within 7-14 days, depending on the seed type and weather.
Once the seedlings are established, water as needed to keep the soil consistently moist but not soggy. Avoid overwatering, which can cause the paper to disintegrate too quickly. In 6-8 weeks, you’ll be rewarded with vibrant wildflowers—all from a piece of paper that would have ended up in a landfill!
Tips & tricks for perfect seed paper
Here's what nobody tells you about making seed paper that actually blooms—these little tricks make all the difference.
Pulp Consistency is Everything: In Step 2, when blending your pulp, aim for a texture that coats the back of a spoon but doesn't drip. Too thick? Add a splash of water. Too thin? Blend in more soaked paper. The ½ cup of water mentioned is just a starting point—adjust as needed. I learned this the hard way after making paper that either fell apart or was too stiff to work with.
Seed Distribution Matters: When stirring in the seed-psyllium mixture in Step 2, take an extra 30 seconds to ensure seeds are evenly distributed. I like to fold the pulp in thirds to guarantee no clumps remain. Uneven seeds mean patchy blooms later—no one wants a seed paper with half the flowers! The 1 tablespoon each of seeds and psyllium husk powder should create a thick paste that coats the seeds completely.
Drying Strategy for Stronger Paper: For Step 3's drying process, place your seed paper on a wire cooling rack instead of the baking sheet. This allows air to circulate on both sides, preventing warping and creating a more durable final product. The 24-48 hour range accounts for humidity—if your kitchen is dry, you might hit 24 hours; if it's humid, give it the full 48 hours. Test with your finger: when it feels stiff and no longer sticks, it's ready.
Pro Tips for Seed Paper Planting Instructions
- Here's what nobody tells you about making seed paper that actually blooms—these little tricks make all the difference.
- Pulp Consistency is Everything: In Step 2, when blending your pulp, aim for a texture that coats the back of a spoon ...
- Seed Distribution Matters: When stirring in the seed-psyllium mixture in Step 2, take an extra 30 seconds to ensure s...
Frequently asked questions
Got questions about growing plants from seed paper? You’re not alone! Here are answers to the most common concerns—so you can dive into eco-friendly gardening with confidence.
Can I plant seed paper in rain or snow?
Seed paper thrives in light moisture, so a gentle rain is perfect for planting—just press it into soil and let nature water it! Avoid heavy downpours or snow, which can wash away seeds or bury them too deep. For snowy climates, wait until the ground thaws and is workable (around 40°F/4°C).
How long does it take for seeds to sprout?
Most seed paper sprouts in 7–21 days, depending on seed type, sunlight, and temperature. Keep the paper moist (not soggy) and place it in bright, indirect light until tiny shoots appear. Patience is key—some delicate seeds (like wildflowers) may take longer than heartier varieties (like basil).
What do I do once the plants sprout?
Once seedlings emerge, gently tease apart the seed paper fibers to avoid tangling roots. Thin crowded sprouts to give plants space, and transfer them to soil or a larger pot if needed. Water the base (not the leaves) to prevent disease. Within weeks, you’ll have lush blooms or herbs—zero waste, all reward!
Can I reuse seed paper if planting fails?
Unfortunately, seed paper is a one-time-use product—the fibers break down as seeds germinate. If your paper doesn’t sprout, check for expired seeds (most last 1–2 years) or improper storage (keep it dry and cool). For future projects, buy fresh or make your own with recycled paper and wildflower seeds!
What if my seed paper molds or smells bad?
Mold or a musty odor usually means the paper stayed too wet. Plant seed paper in well-draining soil and water lightly (like a mist). If mold appears, remove affected sections and replant healthy seeds. For extra protection, sprinkle a thin layer of sand or compost on top before watering.
Are there alternatives if I can’t find seed paper?
Try these zero-waste swaps:
- Homemade seed paper: Blend recycled paper, mix with wildflower seeds and a starch binder (like flour), then dry into sheets.
- Seed bombs: Roll seeds in clay and soil for easy toss-and-grow planting.
- Eggshell starters: Plant seeds in cracked eggshells until sprouted, then transplant.
Wrapping up and next steps
Seed paper is a simple yet powerful way to turn waste into beauty while giving back to the planet! 🌱 By following these easy seed paper planting instructions, you’ve unlocked a creative, eco-friendly way to grow wildflowers, herbs, or veggies—all while reducing your environmental footprint.
Whether you’re brightening up a windowsill, adding color to a garden, or teaching kids about sustainability, every planted sheet is a step toward a greener future.
Ready to see your seeds sprout? Grab your seed paper, a sunny spot, and a little patience—then watch your zero-waste blooms transform your space! 🌿