
Planting
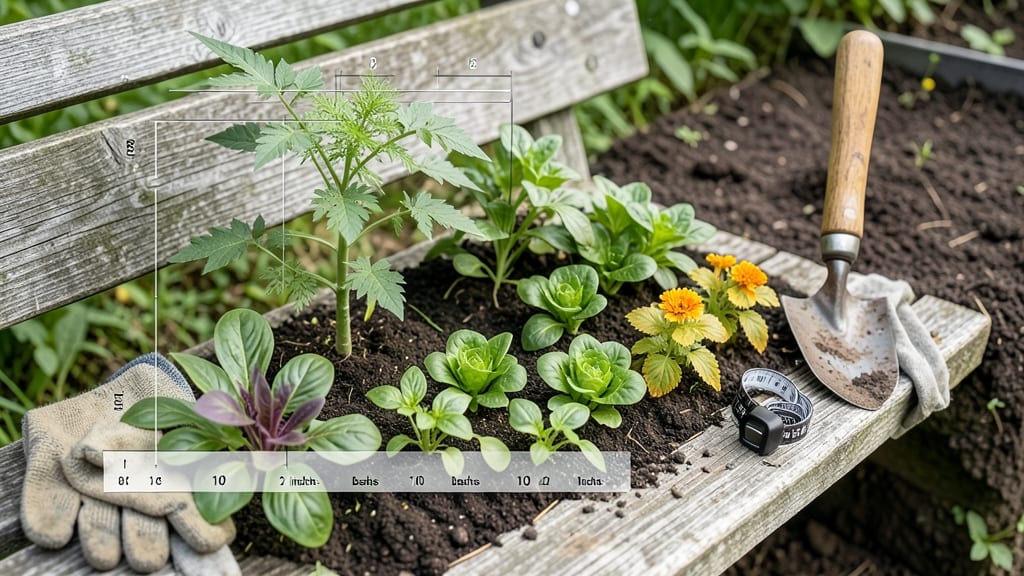
A perfect seed spacing chart saves you from the heartbreak of overcrowded plants. 🌱 I learned the hard way—my first year of carrots grew into tangled, stunted messes because I didn’t account for their mature size.
The difference between a thriving garden and a frustrating one often comes down to these simple measurements.
Most plants need space to spread their roots and leaves without competing for sunlight or nutrients. For example, lettuce can handle 4-6 inches apart, while tomatoes need 18-24 inches to avoid disease and maximize fruit production.
The chart breaks it down by plant type, so you know exactly where to place each seed for the best results.
When you follow the right spacing, you’ll see stronger plants, fewer pests, and a harvest that lasts all season. No more pulling out half-grown veggies because they’re fighting for room—just healthy, productive plants that reward your precision.
Small gardens or containers? No problem. The chart includes adjustments for limited space, so you can still grow what you love without sacrificing yield. Let’s get those seeds planted the right way!
📚 In This Guide
- What you need
- Instructions
- Tips and common mistakes
- Wrapping up and next steps
What you need
- ● Seed spacing chart template (printable or digital): Customizable grid (e.g., 1/4" or 1/2" squares for precision)
- ● Inches/cm markings for accuracy
- ● Measuring tape or ruler (12"–25' range, with metric/imperial markings)
- ● Pencil or fine-tip marker (for marking rows and spacing on soil or chart)
- ● Stakes or plant labels (3–6" long, biodegradable or wood for reusability)
- ● Notebook or gardening journal (to log seed types, spacing, and planting dates)
- ● Seed packets or inventory list (include variety names and recommended spacing from the chart)
- ● Garden twine or string (for marking rows in larger plots)
- ● Kneeling pad or small stool (for comfort during planting)
- ● Laser level or string line (for ultra-straight rows in large gardens)
- ● Seed spacing wheel (a handy tool for quick reference in the field)
- ● Waterproof chart or laminator (to protect outdoor templates from weather)
- ● GPS or mapping app (for large-scale or permaculture gardens)
- ● Colored flags or ribbons (to differentiate between seed varieties visually)
- ● Digital caliper (for micro-spacing needs like herbs or succulents)
Precision planting: how to use a seed spacing chart for bigger harvests
Perfect spacing makes all the difference between scraggly plants and thriving crops.
📏 Step 1: Understand Your Plant's Mature Size
Every vegetable and herb has different spacing needs based on how big it grows. Check your seed packet or plant tag for recommended spacing—this is your starting point. For example, tomatoes need 18-24 inches apart because they grow tall and bushy, while lettuce only needs 6-12 inches since it stays low and compact.
I always sketch a quick diagram on paper to visualize the spacing before planting. Draw circles or squares to represent each plant's mature footprint. This helps me avoid overcrowding, which leads to weak stems, poor air circulation, and disease. If you're unsure, err on the side of wider spacing—you can always add more plants later, but you can't fix overcrowding once it happens.
📐 Step 2: Measure and Mark Your Planting Layout
Use a tape measure and stakes or markers to create a grid on your garden bed. For rows, measure the recommended spacing between plants and mark each spot with a small stake or even a pebble. For example, if your chart says 12 inches apart, measure 12 inches from the first plant, then mark the next spot, and repeat.
For square-foot gardening, divide your bed into a grid (like graph paper) where each square represents 1 foot. Place one plant per square for the recommended spacing. This method works great for herbs and small vegetables. If you're planting in containers, use the same spacing guidelines but adjust for the pot's size—never crowd more than 2-3 plants in an 8-inch pot.
☀️ Step 3: Plant at the Right Depth and Depth
Now that your spacing is marked, it's time to plant. Follow the depth guidelines on your seed packet—usually 2-3 times the seed's diameter. For example, a ¼-inch deep hole is perfect for tomato seeds. Use a small hand trowel to dig the hole, place the seed inside, and cover it lightly with soil.
Here's the thing—planting too deep can delay germination, while planting too shallow can dry out the seed. After planting, gently firm the soil around the seed with your fingers to ensure good contact. Water lightly but don’t soak the area, as this can wash seeds away or bury them too deep. A fine mist from a spray bottle works best for delicate seeds.
🌱 Step 4: Thin Seedlings for Optimal Growth
Once your seedlings sprout and grow their first true leaves, it’s time to thin them to the recommended spacing. Use a small pair of scissors or your fingers to snip or gently pull out the weaker seedlings, leaving only the strongest one in each spot. This might seem cruel, but thinning ensures each plant gets enough nutrients, water, and sunlight to grow strong.
If you're planting in rows, thin seedlings so they’re evenly spaced. For example, if your chart says 6 inches apart, measure 6 inches from the first seedling and thin out any extra plants in that space. For larger plants like corn or sunflowers, thin seedlings so they’re 12-18 inches apart to give their roots room to spread. Don’t skip this step—crowded plants compete for resources and often produce smaller yields.
⏰ Step 5: Monitor and Adjust as Plants Grow
Check your plants every 1-2 weeks to ensure they’re not outgrowing their spacing. If you notice leaves touching or plants leaning toward each other, it’s time to thin again or transplant some to a new location. For example, if your basil plants are getting too crowded, gently dig up some and replant them in a nearby pot or bed.
Pay attention to how your plants look—healthy leaves should be vibrant and upright, not yellowing or wilting. If you see signs of disease (like powdery mildew or black spots), wider spacing can help improve air circulation and prevent future issues. Adjust your spacing as needed, but always aim to give each plant enough room to thrive. With the right spacing, you’ll see stronger plants, bigger yields, and happier harvests.
Tips & tricks for perfect plant spacing
A few simple adjustments can transform your garden from scraggly to spectacular. Here's what I've learned the hard way—and how to avoid my mistakes.
Visualize Before You Plant: Grab a piece of graph paper and sketch your garden layout using the spacing recommendations from your seed packets. Draw circles for root zones of larger plants like tomatoes (18-24 inches diameter) and smaller squares for herbs (6-12 inches). This simple step prevents overcrowding before you even dig the first hole. I keep a garden journal with these diagrams each year—it saves me from replanting mistakes.
Use the Right Tools for Precision: A flexible tape measure with a hook on the end is worth its weight in gold. For containers, I use a small ruler to verify spacing between plants—nothing worse than realizing your basil is crammed too close after planting. Mark planting spots with toothpicks or small stones before digging holes; this keeps you from wandering off-center while planting.
Thinning is Your Secret Weapon: When seedlings reach their first true leaves, don't hesitate to thin ruthlessly. Use clean scissors to snip at soil level rather than pulling—this prevents disturbing roots of neighboring plants. For rows, measure from the center of each plant to maintain even spacing. I've seen gardens go from 50% yield to 200% just by proper thinning at this stage.
Adjust for Your Microclimate: If your garden gets intense afternoon sun, increase spacing by 20-30% to prevent leaf scorch. In shady areas, you can plant slightly closer since they won't grow as vigorously. I always check my garden's sun exposure patterns before finalizing spacing—what works in full sun fails in partial shade. A simple observation over a week tells you everything you need to know.
Pro Tips for Seed Spacing Chart
- A few simple adjustments can transform your garden from scraggly to spectacular. Here's what I've learned the hard wa...
- Visualize Before You Plant: Grab a piece of graph paper and sketch your garden layout using the spacing recommendatio...
- Use the Right Tools for Precision: A flexible tape measure with a hook on the end is worth its weight in gold. For co...
Frequently asked questions
Got questions about perfecting your seed spacing? You’re not alone! Here are answers to the most common queries to help you plant with confidence.
Why does seed spacing matter for my garden?
Proper spacing ensures plants get enough nutrients, sunlight, and airflow—no crowding = no competition! Overcrowding leads to weak growth, disease, and lower yields. A seed spacing chart helps you avoid these pitfalls by providing science-backed guidelines for each plant type.
Can I plant seeds closer together if I plan to thin them later?
Yes! Many gardeners do sow seeds densely (like 1–2 inches apart) and thin them after germination. However, check your seed packet—some plants (e.g., carrots or beets) hate being disturbed. For these, follow the chart’s recommended spacing from the start to avoid stressing delicate roots.
What if my garden soil isn’t ideal? Can I adjust spacing?
Poor soil? No problem! If your dirt is rocky, sandy, or nutrient-poor, increase spacing by 10–20% to give roots room to stretch. For example, if a chart says 12 inches for tomatoes, try 14–16 inches. Pair this with compost or mulch to boost growth in less-than-perfect conditions.
How do I fix overcrowded plants after they’ve already sprouted?
Don’t panic! Gently pull or snip excess seedlings at soil level, leaving the strongest ones. For root veggies (like radishes), use scissors to avoid damaging nearby plants. Water thoroughly afterward to reduce shock. Pro tip: Do this on a cloudy day to minimize stress on the remaining plants.
What’s the best way to measure seed spacing accurately?
Use a ruler or measuring tape for small seeds (like lettuce) and a spacer tool (DIY with sticks or buy one) for larger plants (e.g., corn or squash). For rows, a string line keeps them straight. Hot tip: Mark your spacing with toothpicks or sticks to avoid eye-straining guesswork!
Wrapping up and next steps
Mastering the seed spacing chart is your secret weapon for a thriving garden! 🌱 By following precise spacing guidelines, you’ll boost yields, reduce competition, and create a lush, organized growing space. Whether you’re a beginner or a seasoned gardener, these tips ensure your plants have the room to flourish.
Ready to take the next step? Grab your seeds, mark your rows, and get planting! 🌿 Track your progress, adjust as needed, and watch your garden transform into a bountiful harvest. Happy growing!