
Lawn
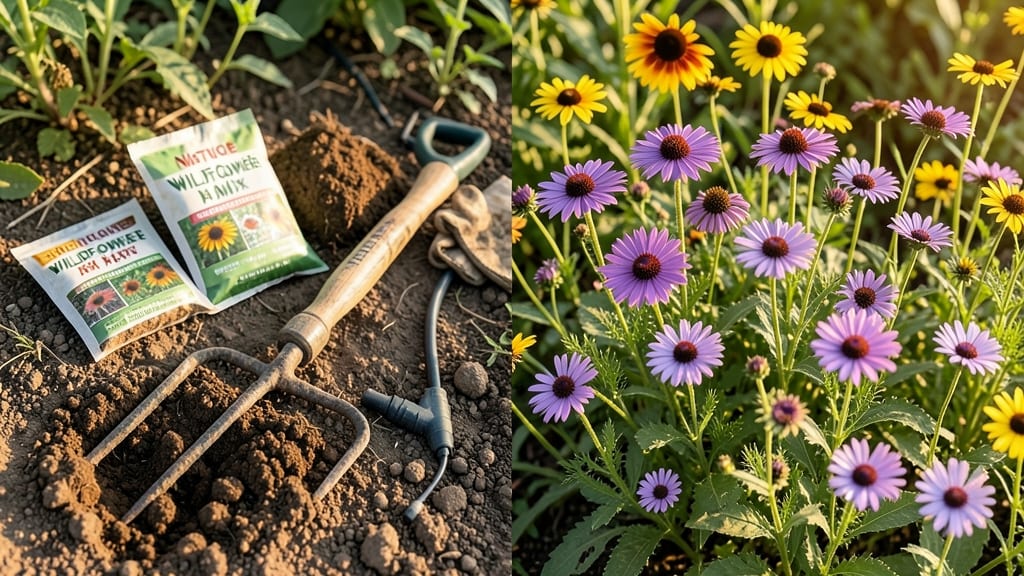
Transforming your yard into a thriving wildflower habitat starts with the right soil—improvement gives seeds the perfect foundation to establish roots in just weeks. 🌱 I’ve planted wildflower seed mixes for five years, and the difference between a thriving meadow and a patchy disappointment comes down to soil prep.
Native pollinators like bees and butterflies depend on these flowers, but they won’t thrive in heavy clay or sandy soil without the right adjustments.
The key is balancing organic matter, texture, and nutrients before planting. A simple soil test reveals what’s missing—most wildflower habitats need a mix of compost, aged manure, and a touch of sand or perlite to lighten heavy soil.
For rapid root establishment, aim for a loamy texture that holds moisture but drains well, mimicking the natural conditions wildflowers evolved in.
Once your soil is ready, the right seed mix makes all the difference. Native species outperform non-natives because they’re adapted to your climate and require less water and care.
Plant in early fall or late winter for the best germination rates, and you’ll see the first blooms by next spring—just in time for pollinators to wake up from hibernation.
This method works for urban yards, rural fields, or even large containers. The payoff isn’t just pretty flowers—it’s a thriving ecosystem that supports wildlife and reduces your water needs long-term.
📚 In This Guide
- What you need
- Instructions
- Tips and common mistakes
- Wrapping up and next steps
What you need
- ● Loam soil (base): 50% of your mix (about 5 gallons for a 10-gallon batch). Look for well-draining, nutrient-rich loam with a balanced sand-silt-clay ratio.
- ● Compost: 25% of your mix (2.5 gallons). Use finished, aged compost (avoid fresh manure—it can burn seeds!).
- ● Perlite or vermiculite: 10% of your mix (1 gallon). Improves aeration and moisture retention.
- ● Wildflower seed mix: 15% of your mix (1.5 lbs per 10 sq. ft.). Choose a native or regionally adapted blend for best results.
- ○ Slow-release fertilizer (optional but recommended): 1 tbsp per 10 sq. ft. (e.g., 10-10-10 or organic options like bone meal).
- ● Gypsum (calcium sulfate): 1 cup per 5 gallons of mix. Helps break up compacted soil and improves structure.
- ● Garden gloves (to protect your hands from soil and seeds).
- ● Wheelbarrow or large bucket (for mixing—10+ gallons capacity).
- ● Garden rake or hoe (to loosen soil before mixing).
- ● Hand trowel or broadcast spreader (for even seed distribution).
- ○ pH testing kit (optional but helpful—aim for 6.0–7.0 for wildflowers).
- ● Watering can or hose with a gentle spray nozzle (for hydration post-planting).
- ● 🌡️ Test your soil first! Use a soil test kit to check pH and nutrient levels before mixing.
- ● ✨ Sterilize tools with rubbing alcohol if repurposing containers to avoid contaminants.
- ● 🎯 Pre-moisten your mix slightly before planting to help seeds germinate faster.
How to improve soil for wildflower seed mix planting
Transforming your soil into a thriving wildflower haven starts with this simple loam-based approach.
🌱 Step 1: Test and Break Up Existing Soil
Start by removing any weeds or debris from your planting area. Use a garden fork to loosen the top 6 inches of soil—this helps roots penetrate easily. If your soil is heavy clay, mix in 2-3 inches of compost to improve drainage. You'll notice the soil becomes lighter and crumbles more easily when worked.
For sandy soil, add 1 inch of organic matter like leaf mold or well-rotted manure. Dig it in thoroughly so the texture feels balanced—like a moist sponge rather than compacted or gritty. This step ensures wildflower seeds have the perfect foundation to establish roots quickly.
🌿 Step 2: Build a Loam-Based Soil Mix
Create a custom blend by combining equal parts of topsoil, compost, and coarse sand. For a 4-foot by 4-foot area, you'll need about 1 cubic yard of each material. Spread the topsoil evenly across the area, then sprinkle a 1-inch layer of compost on top.
Next, mix in the coarse sand to improve drainage—wildflowers hate soggy roots. Work the materials together with a rake until the texture resembles rich garden loam. Press down lightly to settle the soil, then water gently to help everything bind. The ideal finished mix should hold moisture but not stay soggy.
☀️ Step 3: Level and Prepare the Planting Surface
Use a level to ensure your planting area is even—wildflowers grow best when seeds aren't buried in low spots where water pools. Rake the surface smooth, then create shallow furrows ¼ inch deep using a garden rake. Space them 6 inches apart to allow room for seed spread.
Lightly tamp the soil between furrows to prevent erosion. This step prevents seeds from washing away during watering. For slopes, create small terraces to hold seeds in place. The goal is a firm, even surface that mimics natural wildflower meadows.
💧 Step 4: Apply a Thin Mulch Layer
Spread a ¼-inch layer of straw or wood chips over the prepared soil. This protects seeds from drying out and keeps soil temperatures stable. Avoid thick mulch—it can smother emerging seedlings. Water lightly after mulching to help everything settle.
For best results, water deeply once a week rather than daily. Wildflowers need consistent moisture during germination but hate soggy conditions. You'll see tiny green shoots emerge within 2-4 weeks—this confirms your soil prep worked perfectly.
⏰ Step 5: Monitor and Maintain Soil Health
After planting, check soil moisture weekly by sticking your finger 1 inch deep. Water when it feels dry but not bone-dry. Avoid heavy foot traffic—wildflowers establish slowly and need undisturbed soil. If weeds appear, remove them by hand before they compete with seedlings.
Every 3 months, top-dress with a thin layer of compost to replenish nutrients. Over time, your soil will become richer and more fertile, supporting stronger wildflower growth. With proper care, your habitat will thrive for years with minimal effort.
Tips & tricks for perfect wildflower soil prep
Creating the ideal foundation for wildflowers is all about the details—here's what nobody tells you about getting it right the first time.
The Soil Texture Test: After mixing your loam blend in Step 2, squeeze a handful between your fingers. It should hold its shape when pressed but crumble easily when you open your hand—this is the perfect balance for wildflower roots. If it sticks together like clay or falls apart like sand, adjust with more compost or coarse sand accordingly.
Tool Prep Matters: Before you start, give your garden fork a quick sharpening or at least clean off any old soil and debris from previous use. A dull fork makes Step 1's 6-inch loosening much harder, and dirty tools can introduce weeds or diseases to your fresh soil mix. I like to dip mine in a 10% vinegar solution to sanitize.
Mulch Layer Secrets: When applying that ¼-inch mulch layer in Step 4, use straw instead of wood chips if you're planting in hot climates. Straw breaks down faster, releasing nutrients as your wildflowers establish, while wood chips can create a barrier that slows germination. For slopes, lay mulch parallel to the grade to prevent erosion during watering.
Watering Wisdom: That "water deeply once a week" advice in Step 4 is crucial, but here's the trick: water in the early morning so the soil has all day to dry slightly before evening. This prevents fungal issues while keeping roots consistently moist. I set a timer for 30 minutes of deep watering to ensure even saturation without runoff.
Pro Tips for Wildflower Habitat Seed Mix Soil Improvement
- Creating the ideal foundation for wildflowers is all about the details—here's what nobody tells you about getting it ...
- The Soil Texture Test: After mixing your loam blend in Step 2, squeeze a handful between your fingers. It should hold...
- Tool Prep Matters: Before you start, give your garden fork a quick sharpening or at least clean off any old soil and ...
Frequently asked questions
Got questions about creating the perfect wildflower habitat?
Here are answers to the most common ones—so you can get growing with confidence!
What’s the best time of year to plant wildflower seed mixes for fastest soil improvement?
Plant in early spring (March–April) or late summer (August–September) for ideal germination. Spring gives seeds time to establish roots before summer heat, while late summer avoids drought stress. Avoid planting in winter—cold soil slows root growth and reduces nutrient uptake.
Do I need to fertilize my soil before planting wildflower seeds?
Not always! Wildflowers thrive in low-nutrient soil, but if your ground is barren or compacted, a light application of compost or organic matter (like leaf mold) 1–2 weeks before planting boosts soil structure. Skip synthetic fertilizers—they can harm delicate wildflower seedlings.
Can I use a wildflower seed mix in clay or sandy soil?
Yes! Our loam-based mix is designed to improve both clay and sandy soils. For clay: Loosen the top 4–6 inches to aerate. For sand: Mix in 2–3 inches of compost to retain moisture. The seed mix’s deep-rooted varieties (like clover or native grasses) will naturally bind soil over time.
Will wildflowers attract pests like weeds or insects?
Wildflowers attract pollinators (bees, butterflies) but not weeds if planted correctly. To minimize pests, choose native seed mixes (they’re adapted to your region) and avoid overwatering. A thin layer of mulch (straw or wood chips) can suppress weeds without harming wildflowers.
How long until I see visible soil improvement from wildflower roots?
You’ll notice changes in 3–6 months, but full benefits (better drainage, erosion control, and nutrient cycling) take 1–2 years. Deep-rooted species like black-eyed Susan or milkweed break up compacted soil faster—track progress by gently pulling up a plant to check root depth!
Wrapping up and next steps
Creating a thriving wildflower habitat starts with the right soil improvement—and a loam-based seed mix is your secret weapon! 🌱 By blending organic matter, nutrients, and proper drainage, you’re not just planting seeds; you’re building a foundation for rapid root growth and long-term beauty.
Your effort will reward you with vibrant blooms, pollinator paradise, and a low-maintenance landscape that’s the envy of the neighborhood.
Ready to take the next step? Test your soil today, gather your supplies, and start transforming your space into a flourishing wildflower haven. Every shovel full of improved soil brings you closer to success—so roll up those sleeves and get growing! 🌿