
Lawn
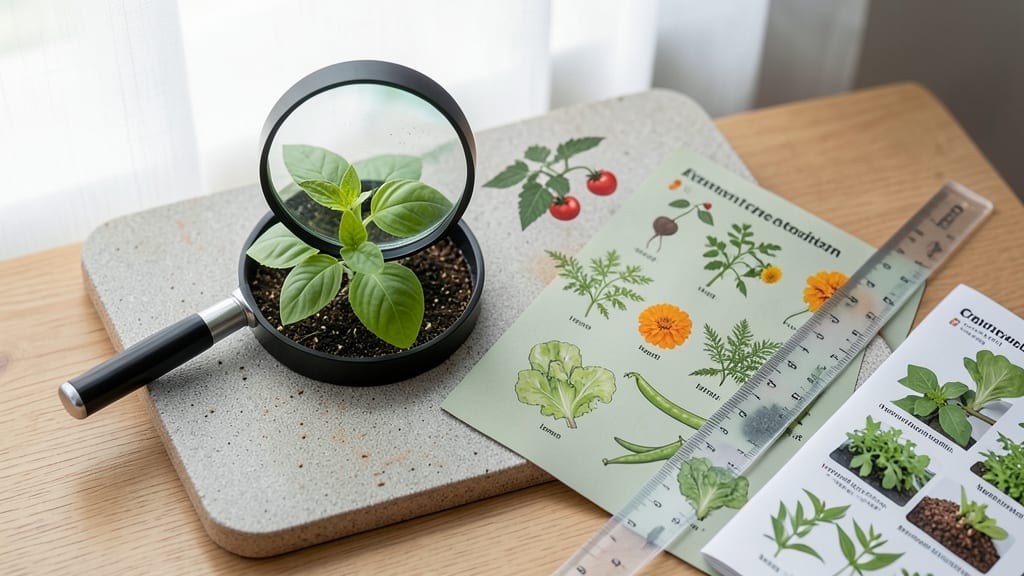
A seed identification guide turns tiny seeds into your garden’s story—but first, you need to know what you’re planting. 🌱 That first glance at a seed packet or mystery bag can feel overwhelming, especially when similar-looking seeds hide completely different plants. This guide unlocks the visual clues—shape, texture, even subtle markings—that reveal whether you're holding tomato, basil, or something that belongs in the wildflower meadow, not your veggie patch.
Most seeds fall into three easy-to-spot categories: round and smooth (like beans), flat and winged (like maple), or tiny and dust-like (like some herbs). The real magic happens in the details—veins, ridges, or even the way they feel between your fingers.
For example, tomato seeds are squishy when fresh, while cucumber seeds stay firm. I've spent years sorting through seed collections, and these visual tricks save me from planting the wrong thing every spring.
By the end, you'll confidently match seeds to plants—no more guessing if that packet of "herbs" is actually wildflower seeds. You'll spot the differences between heirloom and hybrid varieties, identify native seeds that thrive in your region, and even tell edible from ornamental at a glance.
This isn't about memorizing—it's about seeing what's always been there.
Works for seed packets, wild harvests, or mystery bags from last year's garden. The same principles apply whether you're a beginner sorting your first starter kit or an experienced gardener troubleshooting a seed mix-up. Let's get those seeds identified—and growing!
📚 In This Guide
- What you need
- Instructions
- Tips and common mistakes
- Wrapping up and next steps
What you need
- ● Seed Identification Guidebook: A printed or digital guide covering at least 50 common garden varieties (e.g., Seed to Seed or The Garden Seed Identification Handbook).
- ● Hand Lens or Magnifying Glass: 10x magnification (for inspecting fine details like seed texture or markings).
- ● Ruler or Measuring Tape: With metric and imperial units (for size comparisons).
- ● White or Light-Colored Paper: 8.5" x 11" sheets (for seed arrangement and color contrast).
- ● Small Paintbrush or Cotton Swabs: For gently moving seeds without damage.
- ● Notebook or Digital Device: For recording observations (pen/pencil or smartphone/tablet with notes app).
- ● Seed Trays or Small Containers: 2–3 shallow trays (for organizing seeds by type or size).
- ● Reference Images: Printed or saved on your device (cross-reference with your guidebook).
- ● Digital Scale: 0.01g precision (for weighing seeds if needed for identification).
- ● UV Flashlight: To check for fluorescence in seed coatings (some varieties glow under UV!).
- ● Seed Catalogs or Apps: Like Seed Savers Exchange or PlantNet for extra verification.
- ○ Glass Slides and Cover Slips: For microscopic examination (optional but fun for detail lovers!).
- ● Humidity Control Kit: Small container with silica gel (to preserve seeds temporarily for study).
How to identify common garden seeds visually
Here's the foolproof method I use to match seeds with plants—no guesswork, just visual clues.
🌱 Step 1: Examine Seed Shape and Size
Start by sorting seeds by their basic shape. Round seeds like beans or peas are easy to spot—they're smooth and uniform, often ¼ to ½ inch wide. Flat seeds like sunflower or lettuce have one side noticeably thinner, while elongated seeds like tomato or cucumber are oval or teardrop-shaped.
Pay attention to size too. Tiny seeds under ⅛ inch are likely carrots, parsley, or petunias, while larger ½ inch+ seeds are probably beans, squash, or sunflowers. I keep a ruler nearby to compare—this eliminates half the guesswork right away.
🌿 Step 2: Check Seed Texture and Surface Details
Run your fingers over the seed's surface. Smooth seeds like tomato or bean feel glassy, while rough seeds like sunflower or corn have noticeable ridges or bumps. Some seeds have distinct patterns—lettuce seeds often have a net-like texture, and carrot seeds have tiny wings on the edges.
Look for color variations too. Many seeds have a distinct "eye" or scar where they attached to the plant. Tomato seeds often have a white crescent, while bean seeds might show a dark spot. I shine a flashlight at an angle to highlight these details—it makes identification much clearer.
☀️ Step 3: Compare with Seed Catalog Images
Grab your seed catalog or a reliable online guide and match your seeds to the illustrations. Focus on three key traits: shape, texture, and color. For example, marigold seeds are tiny, ribbed, and dark brown, while zinnia seeds are larger, smooth, and grayish-white. Print a few reference sheets and tape them to your workbench.
If you're still unsure, check the seed packet for a magnified image of the seed. Many reputable seed companies include these—it's the fastest way to confirm. I keep a magnifying glass handy for seeds under ⅛ inch, as tiny details become critical at that scale.
⏰ Step 4: Test Float or Sink in Water
Fill a glass with water and drop a few seeds in. Viable seeds will either sink immediately (like beans, peas, or corn) or float briefly before sinking (like tomato or cucumber). Seeds that float and stay afloat are often non-viable or hollow. This quick test helps separate good seeds from bad ones before you even plant.
Don't rely solely on this method—some seeds like sunflower or lettuce float naturally even when viable. Use it as a secondary check, not a definitive identifier. I perform this test right after sorting by shape and texture for a two-step verification process.
🪴 Step 5: Verify with Germination Tests (Optional)
For seeds you're still unsure about, conduct a small germination test. Place 5-10 seeds between damp paper towels in a sealed plastic bag. Check daily for sprouting—most seeds will germinate within 3-10 days. Compare the sprouts to known plant seedlings in your reference guide.
This step is especially useful for herb seeds like basil, parsley, or cilantro, which look nearly identical until they sprout. I keep a small tray of test seeds running whenever I have a batch I can't ID confidently. It's the most reliable way to confirm, but it does take a little time.
Tips & tricks for mastering seed identification
These practical tips will help you become a seed-sorting pro—no more guesswork, just confidence.
Lighting is Your Best Friend: Natural daylight or a bright LED lamp makes all the difference when examining seeds. I always work near a sunny window or use a magnifying lamp—it highlights textures and colors that would otherwise go unnoticed. The subtle variations in seed surfaces become crystal clear under good lighting, especially for tiny seeds like carrots or parsley where details matter most.
Create a Sorting Station: Set up a dedicated workspace with three containers labeled "Round," "Flat," and "Elongated" to match Step 1. I use small glass jars with labels on the lid—it keeps my workspace organized and speeds up the process. Add a ruler and magnifying glass nearby for quick reference. This system prevents mixing up seed types and makes the initial sorting phase feel more like a puzzle than a chore.
Texture Test for Quick ID: The float test in Step 4 is great, but I also run seeds between my fingers to feel for distinct textures. Sunflower seeds have pronounced ridges, while tomato seeds feel almost waxy. For seeds under ⅛ inch, I gently press them against my thumbnail—this helps distinguish between carrot seeds (which have tiny wings) and petunia seeds (which are completely smooth). This tactile approach works best after you've already sorted by shape.
Build a Reference Library: Keep a small notebook or digital file of seeds you've identified, including photos and notes about their key traits. I add sketches of the most confusing seeds—like lettuce vs. endive—with arrows pointing to their distinctive features. Over time, this becomes your personal seed ID guide, and you'll start recognizing patterns that catalogs don't always show.
Pro Tips for Seed Identification Guide
- These practical tips will help you become a seed-sorting pro—no more guesswork, just confidence.
- Lighting is Your Best Friend: Natural daylight or a bright LED lamp makes all the difference when examining seeds. I ...
- Create a Sorting Station: Set up a dedicated workspace with three containers labeled "Round," "Flat," and "Elongated"...
Frequently asked questions
How do I know if my seed packet is still viable?
Check the packaging date—most seeds last 1-2 years if stored properly (cool, dry, dark). For older seeds, do a germination test: dampen a paper towel, place 10 seeds inside, and seal in a bag. Check for sprouts in 7–14 days. If 50%+ sprout, they’re good to plant!
Can I identify seeds just by looking at them?
Yes, but with limits! Shape, size, and color are great starting points—our guide includes visual keys for 50+ varieties. For tricky cases, use a seed magnifier or compare textures (e.g., smooth vs. bumpy). If unsure, a floating test helps: place seeds in water—some (like tomatoes) sink, while others (e.g., cucumbers) float.
How long does seed identification take for beginners?
With our guide, expect 5–15 minutes per seed at first. Start with easy-to-spot seeds (e.g., sunflower vs. pumpkin) to build confidence. After practicing, you’ll recognize patterns faster—like bean seeds (kidney-shaped) vs. corn (wrinkled, larger). Pro tip: Label unknown seeds with a photo before planting!
What if I can’t identify my seed—what’s Plan B?
No stress! Try these steps:
- DNA test kits (e.g., Seed Savers Exchange) for $20–$50.
- Post a photo on gardening forums (like GardenWeb) for crowd help.
- Plant a small test batch—some seeds (like herbs) are low-risk!
Does temperature affect how I identify seeds?
Indirectly! Cold weather can shrink seeds (making them harder to measure), while humidity may cause mold or clumping. Always compare seeds in consistent lighting (natural daylight is best) and use a ruler for size. Store unknown seeds in a cool, dry place (like a jar with silica packets) to preserve details.
Wrapping up and next steps
Mastering seed identification opens the door to a thriving garden full of beauty, productivity, and satisfaction! 🌱 Whether you're a beginner or a seasoned gardener, recognizing these 50 common varieties empowers you to make informed choices and cultivate a space that truly reflects your vision.
Now that you’ve got your visual key, why not take the next step?
🌿 Ready to Grow?
Start small—pick one or two seeds from this guide, test your newfound skills, and watch your confidence (and garden!) bloom. Happy planting! 🌻