
Lawn
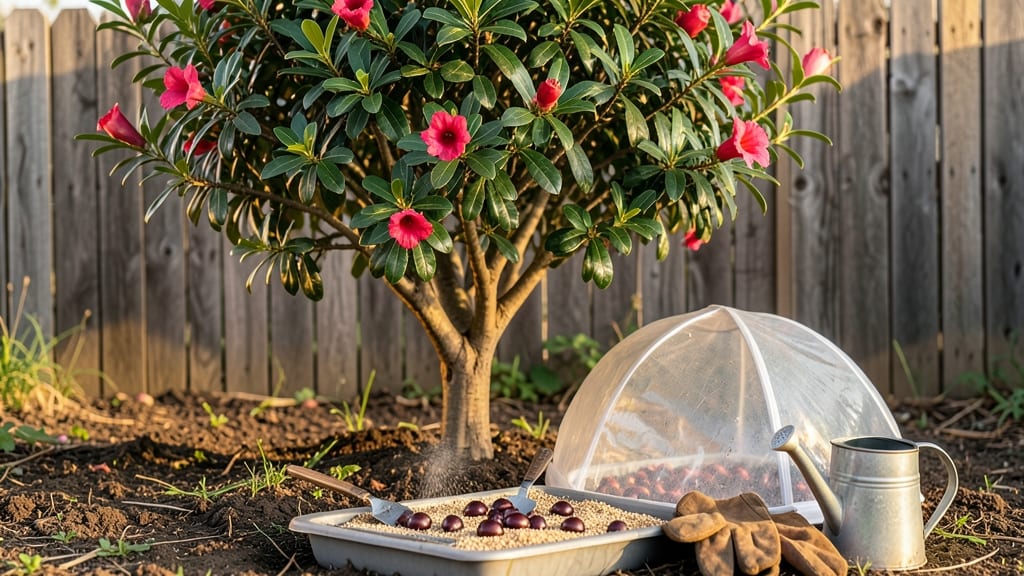
How to seed a pomegranate easily—it should take less than 2 minutes—no mess, no stains, just juicy arils ready to plant. 🌱 I used to dread the sticky cleanup, but this knife trick changed everything. The secret lies in a simple cut that separates the seeds from the pulp without turning your kitchen into a berry disaster.
Start with a ripe pomegranate—look for deep red skin that cracks slightly when squeezed. Cut it in half over a bowl, then score the white membrane between the seeds with a sharp knife.
The arils pop out cleanly, leaving the bitter pith behind. You’ll end up with hundreds of seeds ready for planting, all without the usual sticky struggle.
Once you’ve got your seeds, germination is straightforward: soak them overnight, then plant them ½ inch deep in well-draining soil. Keep the soil moist but not soggy, and place the pot in a sunny spot.
Within 2-4 weeks, you’ll see tiny sprouts pushing through—proof that your effort paid off with juicy rewards down the line.
This method works year-round, though spring planting gives seedlings the best head start. Troubleshooting? If seeds don’t sprout, try soaking them longer or checking for freshness—older seeds germinate slower. With this trick, you’ll go from messy fruit to thriving pomegranate tree in no time.
📚 In This Guide
- What you need
- Instructions
- Tips and common mistakes
- Wrapping up and next steps
What you need
Before you dive into the juicy world of pomegranate arils, let’s gather your essential tools and materials—this process is easier than you think! Here’s what you’ll need to seed a pomegranate like a pro:
🔪 Required Tools & Materials
- 1 ripe pomegranate – Choose one that’s firm but slightly soft when gently squeezed (avoid mushy or rock-hard ones!).
- 1 sharp chef’s knife – A serrated or thin-bladed knife (like a Santoku) works best for clean cuts.
- 1 cutting board – A sturdy, non-slip board to protect your counter (and your fingers!).
- 1 bowl or plate – Large enough to catch arils and seeds without spills.
- Paper towels or a clean kitchen towel – For drying hands and cleaning up stray juice.
- Optional: Food processor or blender – If you’re prepping seeds for planting (not just eating!).
- Optional: Small container with water – For soaking seeds overnight (if propagating).
💡 Pro Tips for Success
- Wear gloves (optional but helpful) – Pomegranate juice stains! Latex or nitrile gloves keep your hands clean.
- Chill the pomegranate first – Pop it in the fridge for 30 minutes to firm up the skin slightly for easier slicing.
- Use a citrus juicer (optional hack) – If you’re really lazy, some people use a handheld juicer to extract arils—just skip the seeds!
Step-by-Step instructions for extracting pomegranate seeds easily
Here's the foolproof method I use to get juicy arils without staining hands or counters.
🪴 Step 1: Prepare Your Workspace and Pomegranate
Start by placing your pomegranate on a cutting board or sturdy plate. I like to use a shallow dish to catch the mess—pomegranate juice stains like ink, so protect surfaces with a paper towel underneath. Cut the fruit in half horizontally using a sharp chef's knife. The goal is a clean, flat cut through the center where the seeds cluster.
Real talk: don't use a dull knife. A sharp blade glides through the tough skin with minimal effort, while a dull one crushes the arils and makes a bigger mess. Hold the pomegranate firmly with one hand while cutting to prevent slipping. You'll feel the knife hit the central seed cluster—this is your stopping point.
✂️ Step 2: Score the Membranes to Release Arils
Place one half of the pomegranate cut-side down on your cutting board. Using the same sharp knife, score the white membranes in a crosshatch pattern—make cuts about ¼ inch apart—without cutting into the arils themselves. This creates a grid that lets the juice and seeds separate cleanly when you press.
Here's the thing—press firmly but gently with the flat of your knife or a spoon to break the membranes. You'll hear a satisfying popping sound as the arils release. Don't rush this step; patience prevents crushing the delicate seeds. Once you see the ruby-red arils pooling in the cuts, you're ready for the next step.
💧 Step 3: Extract Arils with the Knife Trick
Grip the pomegranate half firmly and angle your knife at about 45 degrees over the scored area. Run the blade along the cuts, letting it scoop up the arils as you go. The knife acts like a spoon, collecting the seeds in its path. You'll notice the juice runs freely now—this is normal and actually helps release the last of the arils.
I like to work in sections, rotating the pomegranate half as I go. This ensures I don't miss any hidden pockets of seeds. When finished, you'll have a nearly empty pomegranate shell and a pile of juicy arils in your knife. Transfer them immediately to a bowl of cold water to stop oxidation and preserve their vibrant color.
🌿 Step 4: Rinse and Store for Maximum Freshness
Drain the arils through a fine-mesh strainer to remove any remaining membrane bits or juice. Rinse them gently under cold water to clean off any lingering pith. I always pat them dry with a paper towel before storing—this prevents mold growth in the fridge. The arils are now ready to eat fresh or store for up to 5 days in an airtight container.
Don't skip the rinsing step if you plan to use the arils for cooking or baking. The residual juice and pith can alter flavors and textures. For immediate consumption, I like to drizzle a little of the reserved pomegranate juice over the fresh arils—it enhances their natural sweetness and makes them even more irresistible.
⏰ Step 5: Save the Juice and Peel for Other Uses
The leftover juice in your bowl is pure liquid gold. Strain it through a cheesecloth or fine mesh to remove any remaining seeds, then store it in an airtight container. This concentrated juice keeps for 1 month in the fridge and makes a fantastic marinade, cocktail mixer, or salad dressing. The empty pomegranate shells can be composted or used as decorative centerpieces for a rustic touch.
Here's where it gets fun—save the shells for seed starting! Let them dry completely, then crush them into a fine powder. This powder makes an excellent natural dye for fabrics or can be mixed with soil to improve drainage in potted plants. Just don't throw anything away—pomegranates are one of nature's most versatile fruits.
Tips & tricks for perfect pomegranate seeding
Between us, these little tricks will turn what feels like a messy chore into a satisfying, almost meditative process—especially when you end up with those perfect ruby-red arils. Here's what nobody tells you about making this foolproof.
The Knife Angle Secret: That 45-degree angle in Step 3 isn't just arbitrary—it's the sweet spot where your knife acts like a spoon without crushing the delicate arils. Hold the knife like you're holding a paintbrush at a slight diagonal, and you'll scoop up seeds effortlessly. The juice will flow freely, signaling you're doing it right. I've tried steeper angles, and they either miss seeds or mash them against the fruit.
Pressure Control: When pressing the membranes in Step 2, think "firm but gentle"—like you're pressing a sponge, not smashing it. Too much force and you'll get a purple slurry instead of clean arils. The popping sound is your cue: each pop means another batch of seeds is ready to release. If you're not hearing those satisfying pops after pressing, you're either not pressing hard enough or your cuts aren't deep enough.
Juice Preservation: That bowl of cold water in Step 3 isn't just for rinsing—it's your color savior. The moment arils hit the water, their vibrant red gets locked in. Without it, they'll turn dull gray within minutes. I keep a small bowl of ice water ready before I even start cutting, because once those seeds are exposed, time is of the essence. Pro tip: Use filtered water if your tap water has chlorine—it can dull the color even faster.
Pro Tips for Seed A Pomegranate Easily
- Between us, these little tricks will turn what feels like a messy chore into a satisfying, almost meditative process—...
- The Knife Angle Secret: That 45-degree angle in Step 3 isn't just arbitrary—it's the sweet spot where your knife acts...
- Pressure Control: When pressing the membranes in Step 2, think "firm but gentle"—like you're pressing a sponge, not s...
Frequently asked questions
Got questions about seeding a pomegranate? You’re not alone! Here are some common concerns—and quick, no-fuss answers to help you master the no-mess knife trick like a pro.
How long does it take for a pomegranate to grow from seed?
A pomegranate seed (aril) can sprout in 2–4 weeks if kept moist and warm. However, growing a tree from seed takes 3–5 years to bear fruit—much longer than buying a grafted plant. For faster results, opt for nursery-grown saplings!
Can I seed a pomegranate without cutting it open?
Yes! If you’re avoiding the knife, try rolling the pomegranate firmly on a hard surface (like a countertop) to crack the skin. Then, rinse the arils under water—they’ll pop out easily. Just be patient; this method takes a little more elbow grease!
What if my pomegranate seeds won’t sprout?
Seeds may fail to sprout due to dryness, old seeds, or poor soil. Try soaking seeds in water for 24 hours before planting, or use a seed starter mix with perlite for better drainage. If they’re past their prime (over 1 year old), they may not germinate at all.
Can I eat the seeds after seeding?
The arils (seeds with juicy flesh) are edible and packed with antioxidants. Just save a few for planting if you’re growing a tree. Pro tip: Freeze leftover arils in ice cube trays for easy snacking later!
Do pomegranate seeds need sunlight to grow?
Yes! Seeds need bright, indirect light (6+ hours/day) to sprout. Place them near a sunny window or under a grow light. Once seedlings emerge, move them to a south-facing spot or outdoors (after frost risk passes). Shady spots = leggy, weak plants.
Still stuck? Drop your question in the comments—we’re happy to help you crack (and seed!) that pomegranate like a boss!
Wrapping up and next steps
Seeding a pomegranate doesn’t have to be messy or complicated—with the right technique, you’ll enjoy juicy arils in no time! 🌟 Remember, patience and a sharp knife are your best friends, and soon you’ll be savoring this vibrant fruit like a pro.
Now that you’ve mastered the trick, why not share your newfound skill with friends or try growing your own pomegranate tree for a future harvest? Happy seeding!